Your map
What the map actually looks like, and how to organize ideas on it.
Cards on a canvas
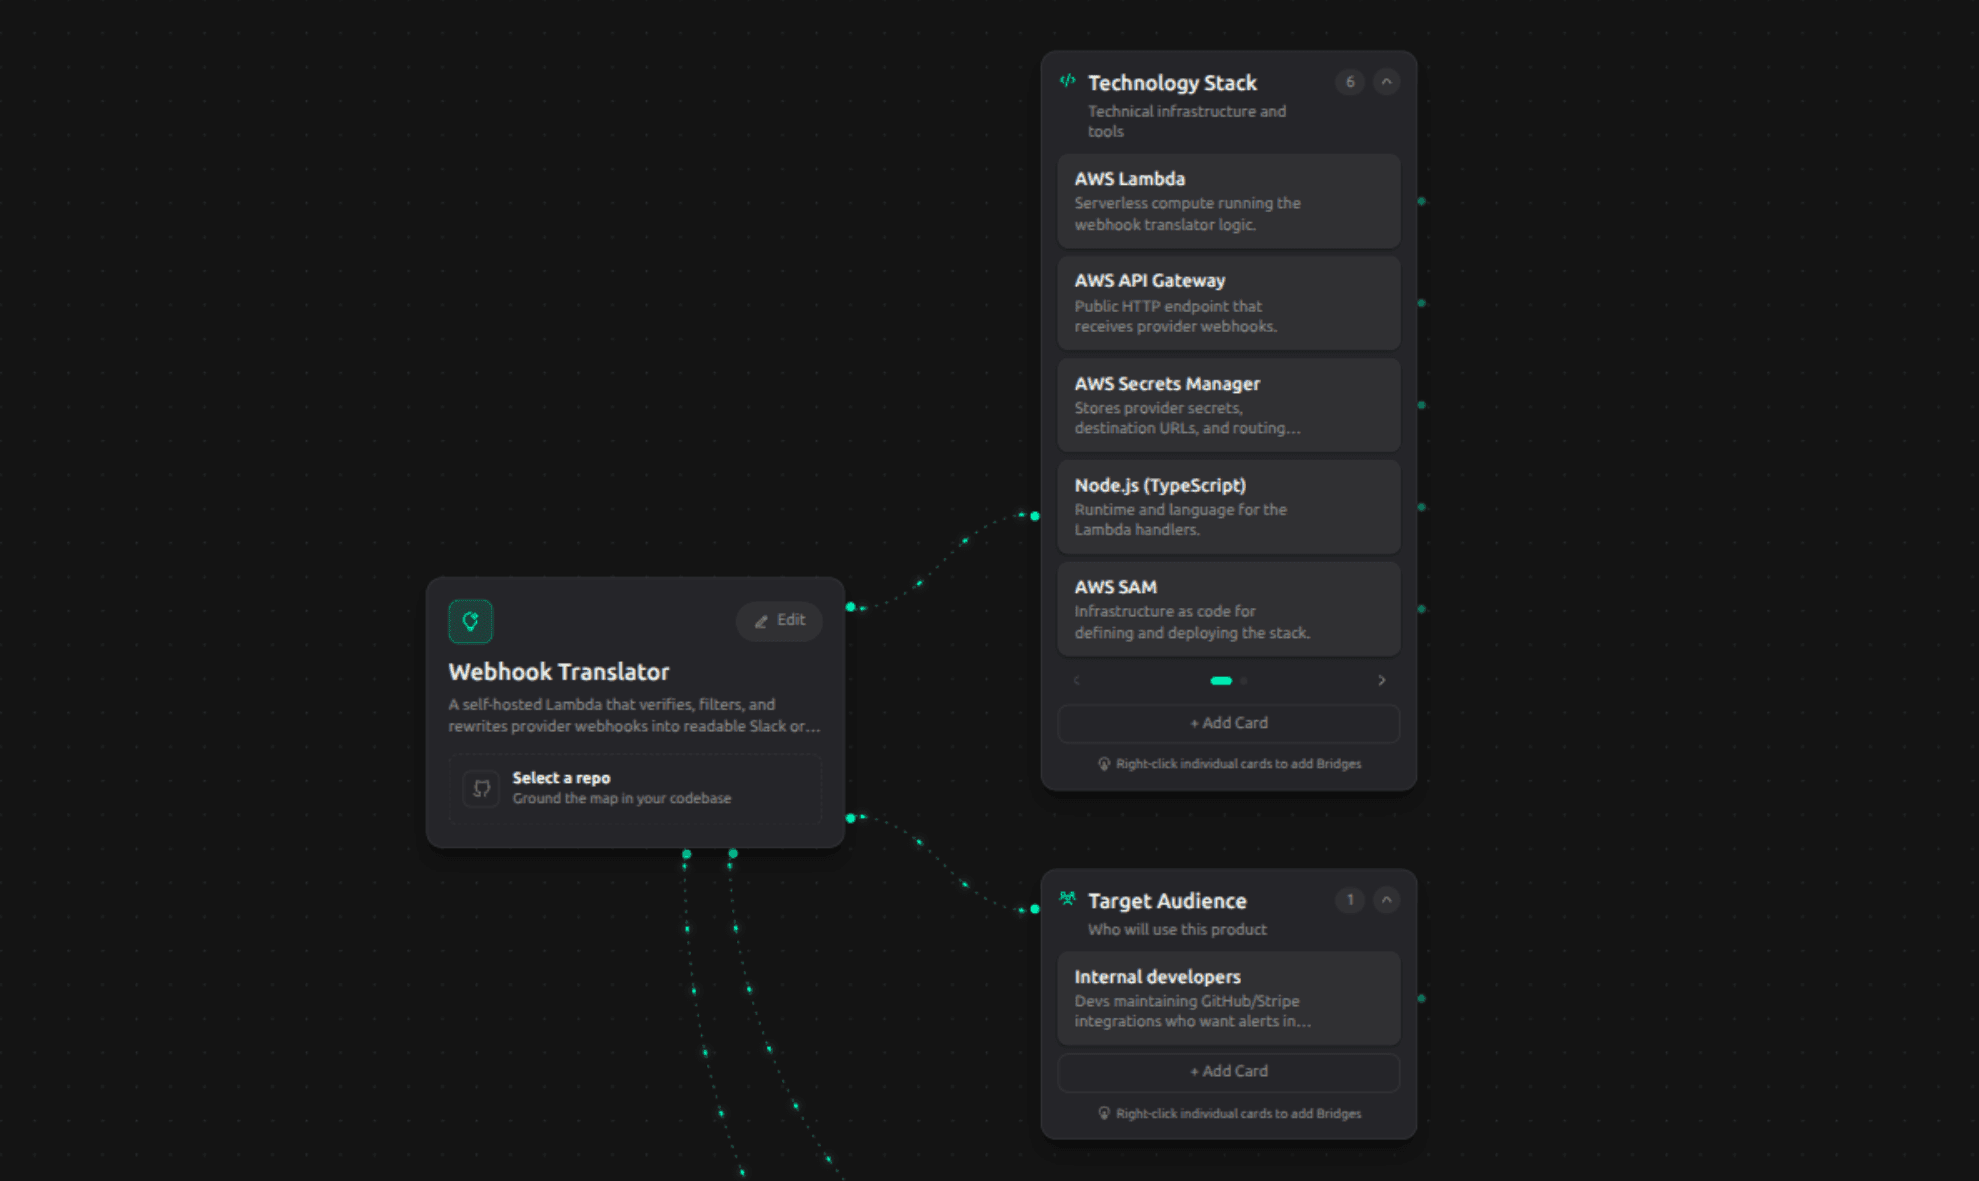
Everything in Mapwright lives on one big canvas, laid out as cards. Open a project and you'll see it already has a starting structure: a section for your Features, one for your Tech Stack, one for Competitors, and one for your Target Audience. Each of those is a container that holds cards.
Adding a new idea is as simple as adding a card to the right section. Give it a title and a one-line summary, and it's on the map.
Going deeper on a card
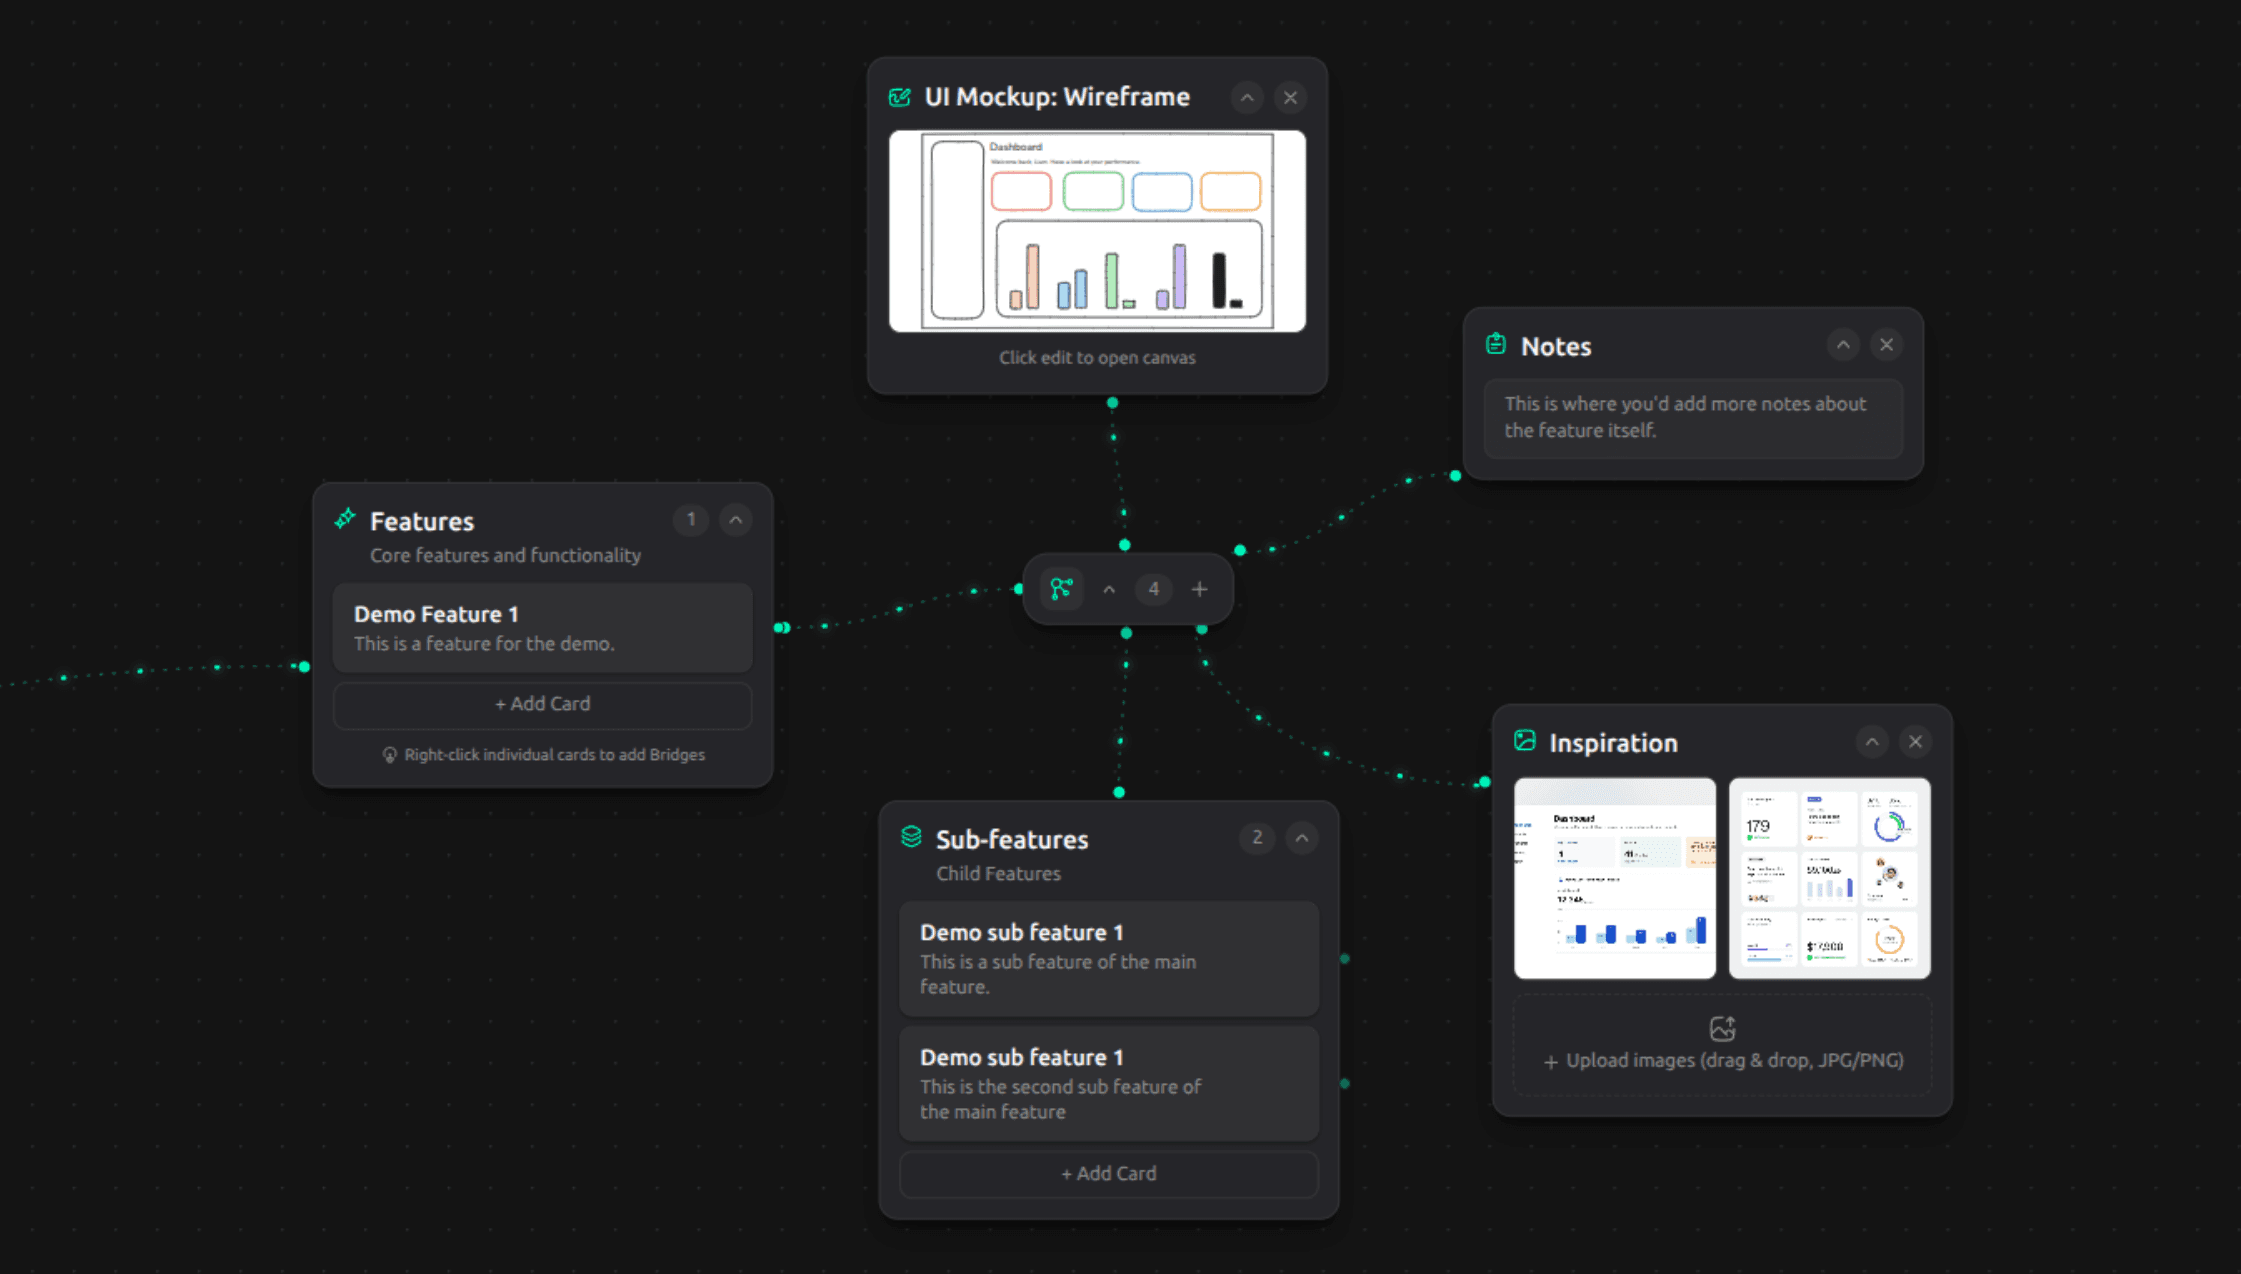
A card doesn't have to stay a single line. Right-click one (or use its menu) and you can attach:
- Notes, for anything that needs more than a sentence, written in plain text with light formatting.
- Inspiration, reference images like screenshots or competitor UI you want to point to.
- A wireframe, a rough sketch of what a screen should look like.
- Sub-features, smaller pieces that belong under a bigger feature. If "User accounts" is a feature, "Password reset" and "Email verification" might be sub-features nested underneath it.
None of this has to happen all at once. Start with a title, and come back to add detail whenever you have it.
Keeping things tidy
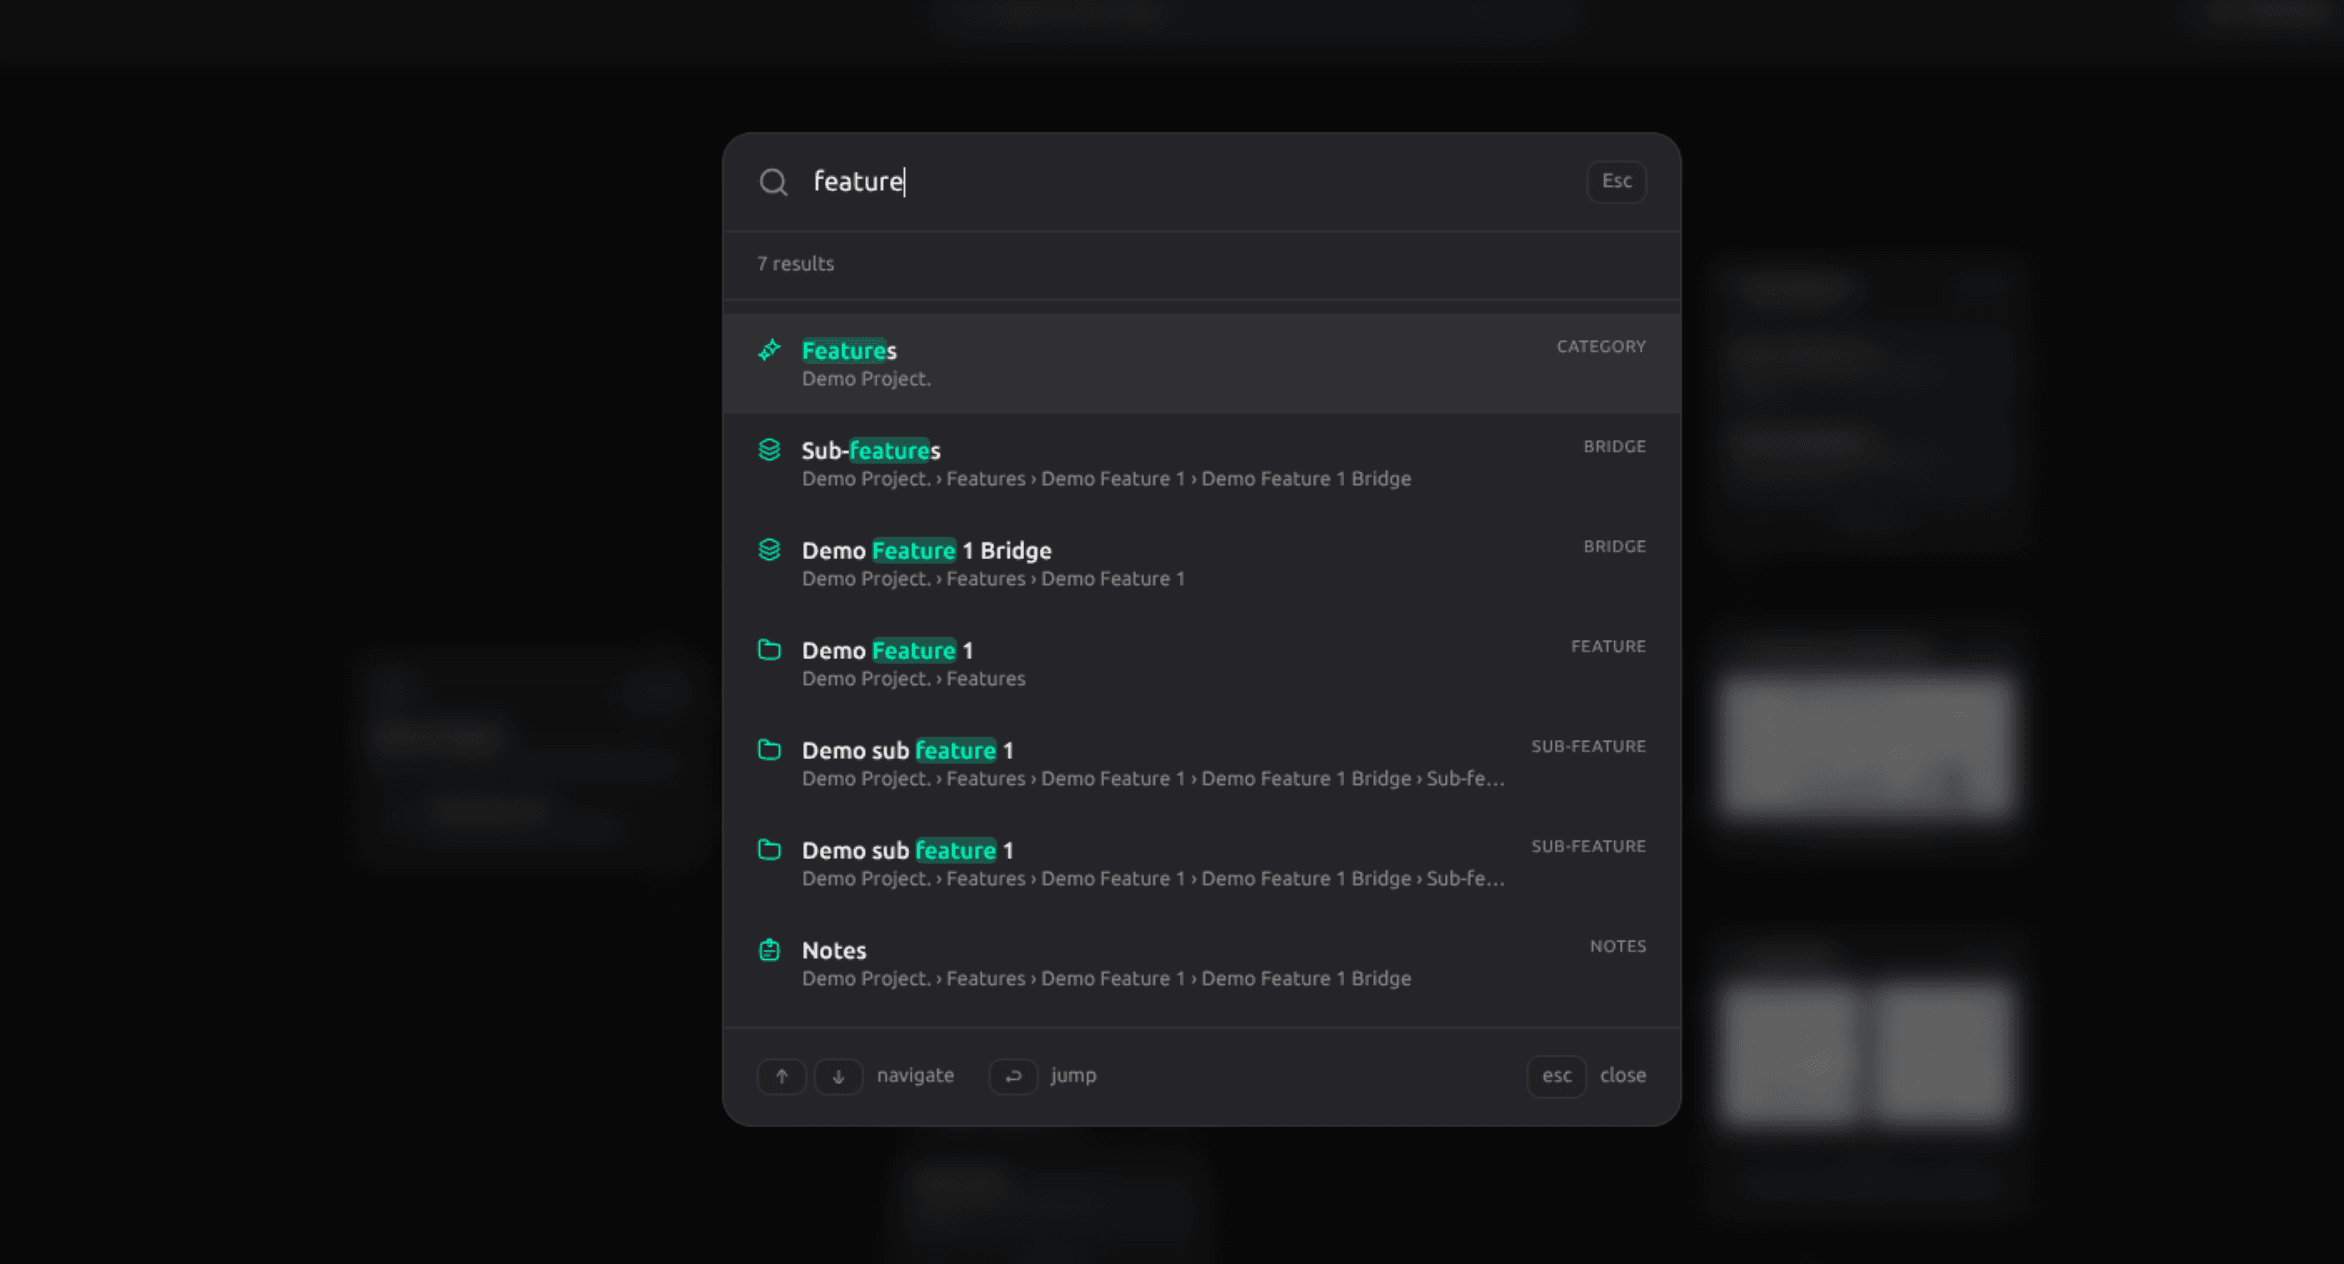
A feature with a lot of sub-features collapses into a manageable list rather than sprawling across your screen, and you can drag connections between any two cards to note that they're related, even if one doesn't structurally belong under the other. There's also a search (⌘K on Mac, Ctrl+K on Windows) that finds anything on the map by name, note, or spec content and takes you straight to it.
What's next
Once a feature is on the map with enough detail attached, it's ready to become a real spec your AI assistant can build from. That's covered next, in turning ideas into specs.